
Adobe InDesign is a phenomenal tool when it comes to designing text-heavy projects. Although Photoshop and Illustrator are also capable of creating projects with images, designs and text, I prefer InDesign because it is the best tool for creating layouts. InDesign makes it easy to create and modify multiple pages of a document. For instance, we used it to build a 92-page product catalog for one of our clients. So what makes it so spectacular? Let me give you 7 reasons why Adobe InDesign is so incredible.
1. Master Pages
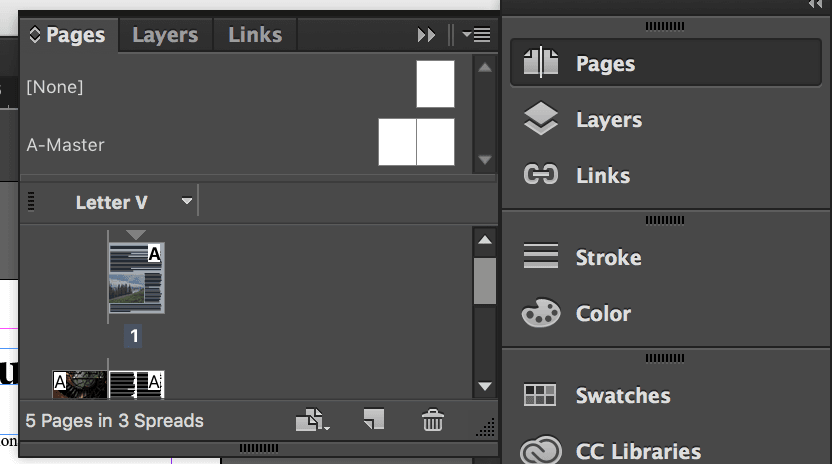
This feature is really the secret ingredient when it comes to what separates InDesign from the rest. Master pages come to the rescue when you are creating a multi-page document. If there are any specific features of a page that you want replicated on every page throughout the document (such as page numbers), you create a master page with those features.
The process is simple. If you look at the pages tab, you will see ‘A-Master’ near the top of the tab. If you double click that, you will be brought to a blank spread. Go ahead and insert page numbers, or any other repeating elements you may want, into this spread in the location that you want it throughout your document. Once you decide everything looks good, you can now apply the master page to your document. Once again, go to the pages tab and highlight the pages you want that master page to be applied to. Once you have them highlighted, you right click within the pages tab and then ‘Apply Master to Pages…” This will bring up a box asking which master page you want to apply, and what pages you want them applied to—if you already have those pages highlighted, don’t worry about answering that.
The Master should now show up on all the pages in your document where you applied it. And if you ever need to go and edit it, just double click on the master page again. You won’t be able to edit the master page features within your regular document pages.
You can create any number of master pages if your document gets complex. And if you ever decide you no longer want a master page applied to a specific page, highlight that page in the pages tab, right click, and the select “Override All Master Page Items.” This will now allow you to delete those master page features on that page.
Feel free to change the title of your master pages too, so it’s easier to keep track of which pages have which features!
2. Text Wrap
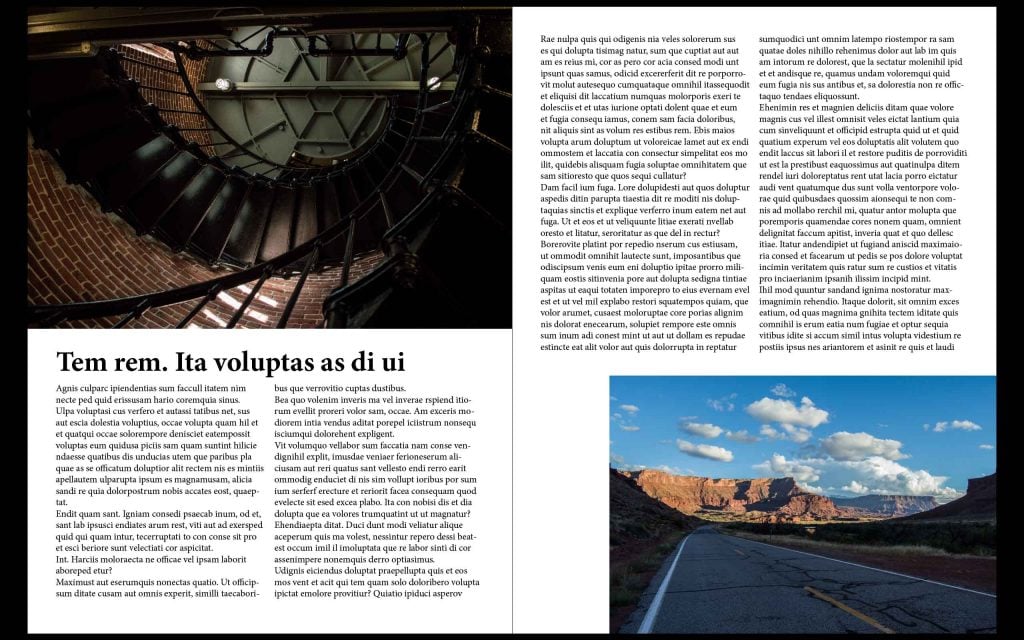
Oftentimes, when designing a template for a brochure or poster, you will need to incorporate text along with images. If you want the text to wrap around your image, rather than just sit next to it, you can do this by taking advantage of the text wrap feature.
You can find this either in the top of your toolbar, or in the Text Wrap window. There are multiple different ways you can wrap your text around an image, and they mostly focus on how close you want the text to the image. ‘Wrap around bounding box’ will be the easiest and cleanest way to have text wrap around a straight-lined shape.
However, if you want to wrap around something that has some curves to it, you will need to edit your images border lines. Do this with the Direct Selection Tool. Once you have a good border around the shape that you want wrapped, click on ‘wrap around object shape’ in the text wrap window. If the text is too close to your object, you can quickly fix that by adjusting the wrap offsets. These can be found right below the text wrap options in the text wrap window.

3. Presentation Viewing Mode
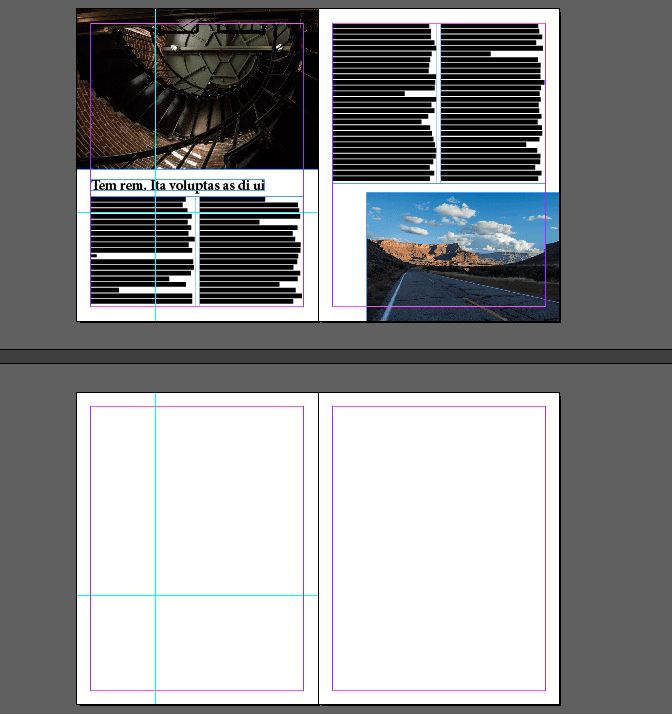
Simple, but so useful. The presentation viewing mode allows you to see your document without all the clutter of the marks, bleeds and text box outlines. It’s a great way to get an idea of how your document will look once it’s printed or published online.
I find that when I am working on a document with a lot of pages and features to it, I can lose track of my spacing within the project. I can easily lose the clutter by clicking on ‘View’, ‘Screen Mode’ and then ‘Presentation. Or, you can click the hot keys which are simply Shift + W.
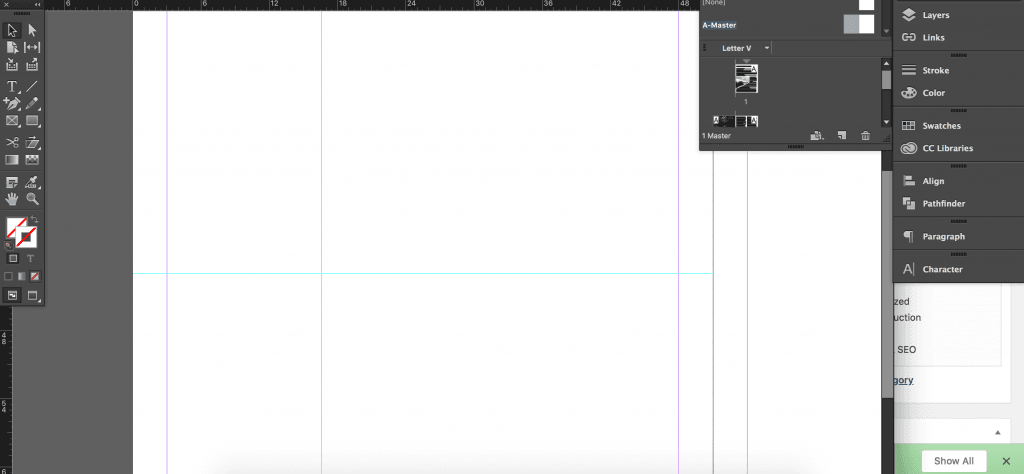
4. Rulers & Guides
Sometimes, when I’m working on multiple spreads, I want all of my features to start and end at a specific point in the document. Usually, you can just set everything to specific X, Y-coordinates, but sometimes this doesn’t work. If the elements you are trying to get aligned are on different spreads and they are different sizes, the coordinates aren’t always so reliable.
So when that happens, I use the ruler tool to set guides for myself. There are rulers bordering the top and left side of your workspace. If you don’t see them, go to ‘View’ and then ‘Show Rulers’ and they should pop up on your screen.
If you want to set a horizontal guide in your document, click within the top ruler and drag your cursor down until the line is at the marker you want. It’s convenient to set it at a specific marker in the ruler so you can replicate it easier with another spread. Or you can create the marker in a master page and apply that to any page that will need that guide.
These lines can be selected and deleted whenever, but understand that they are only there as guides and will not show up in the exported document.
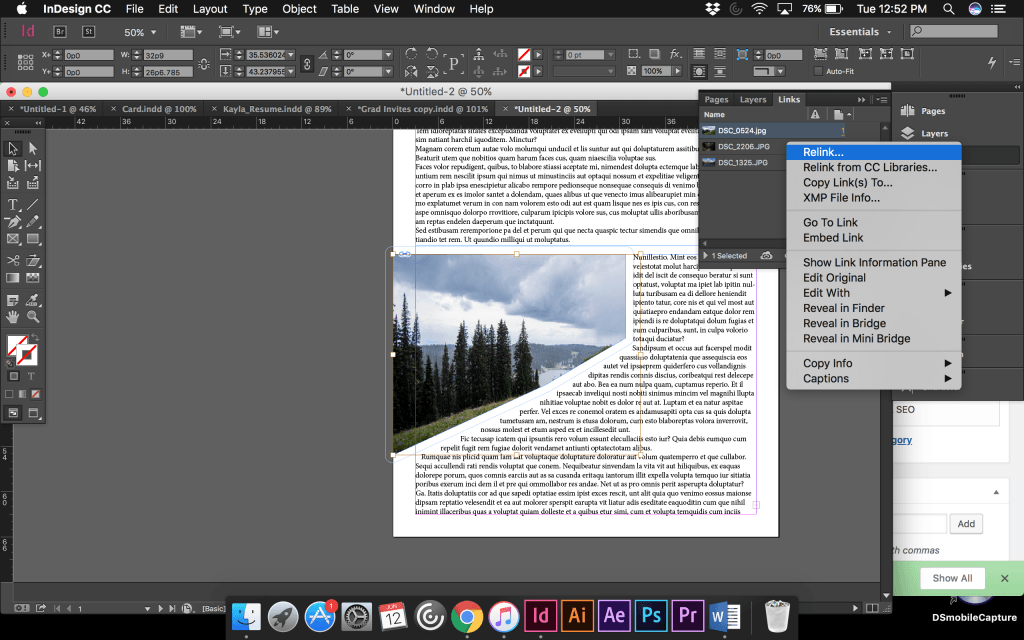
5. Re-linking Images
InDesign was created around the idea that you will be changing elements left and right continuously. One of the things you might be changing frequently is an image placed within the document. This can be frustrating when you have your image the exact size that you need and in the exact position that you want, but then you determine that the image itself needs to be replaced. Rather than delete that image and import a new one, just to resize and replace it all over again, you can just relink it instead.
To do this, go to your pages window, and then the links tab within that. Find the image you want to replace, right click on it and select ‘relink…” You will now be able to select the new image you want to replace your old image with and it will plug it right into the document with the same parameters set as the old one.

There are so many other reasons why I use InDesign for my projects, but I wanted to stick with the five that I think may help you the most.
It’s always frustrating to try to learn a new program when you’ve been working with something else for so long. But I promise, once you figure out the essentials for this program, you won’t want to use anything else when it comes to creating a new brochure, catalog or newspaper. Adobe has included so many incredible features to make every step of the way as easy and fun as possible.
What are some of your favorite tips and tricks when using InDesign? If you don’t like the program, give us some reasons why! Maybe we can help you figure something out so you can enjoy it a little more. Comment below and let’s start a conversation!
Contact us today for a consultation.
Total project costs depend on the size and scope of the project.
We work tirelessly to create solutions that will add value for your organization and treat every client with the time and respect they deserve.


